User Guide of iSeeker for Android
How can I recover permanently deleted data from my Android phone?
How can I retrieve deleted WhatsApp messages on Android/iOS? (Skip to the full guide)
How can I recover my old WhatsApp messages without backup?
How do I recover files from Google Drive on Android?
No matter what kind of data you lost on your Android phone, iSeeker Android will help. Read on!
Part 1: Recover Lost Data from Phone
Step 1:Get Your Device Prepared
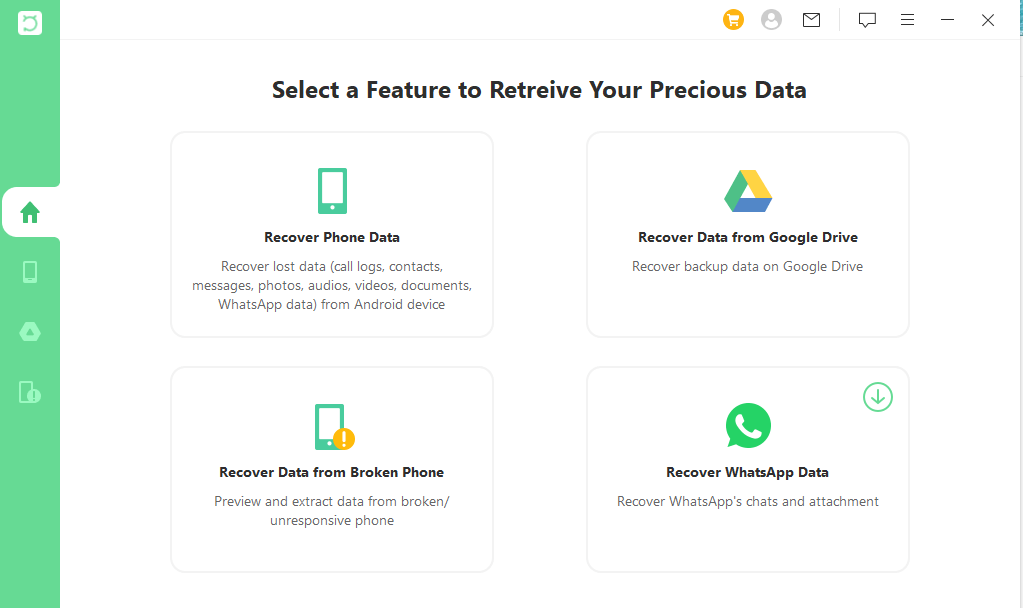
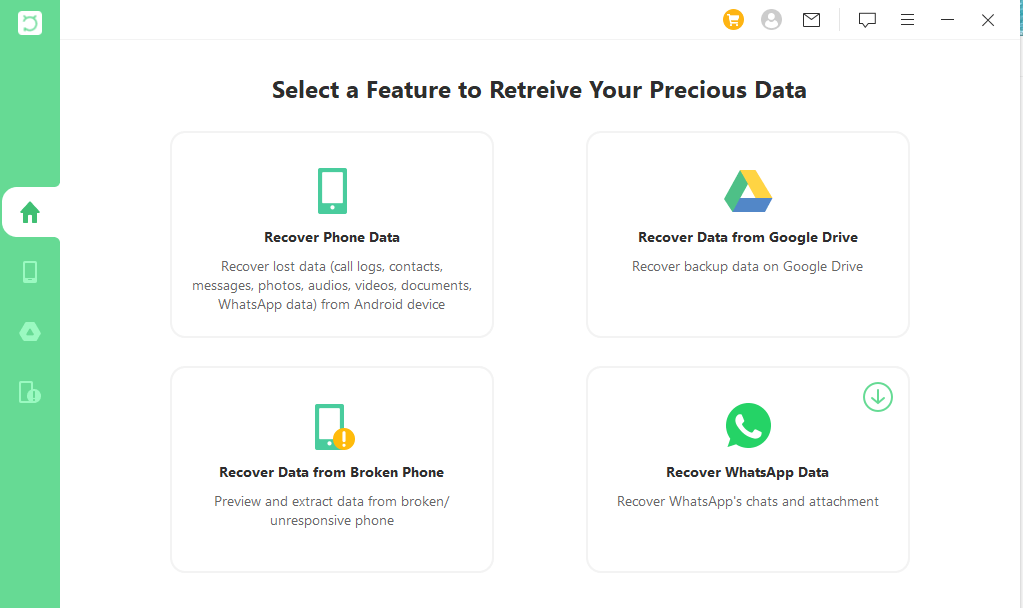
Download and launch iSeeker (Android) onto your PC and select a mode based on your situation.
The steps to use both modes are the same, so let's take one of them as an example to show you the entire process. We choose the Recover Phone Data and continue.
Step 2:Select Your Device Information
On the Recover Phone Data tab, the app will ask you to connect your device. From the list provided, select the correct name and model of your phone.
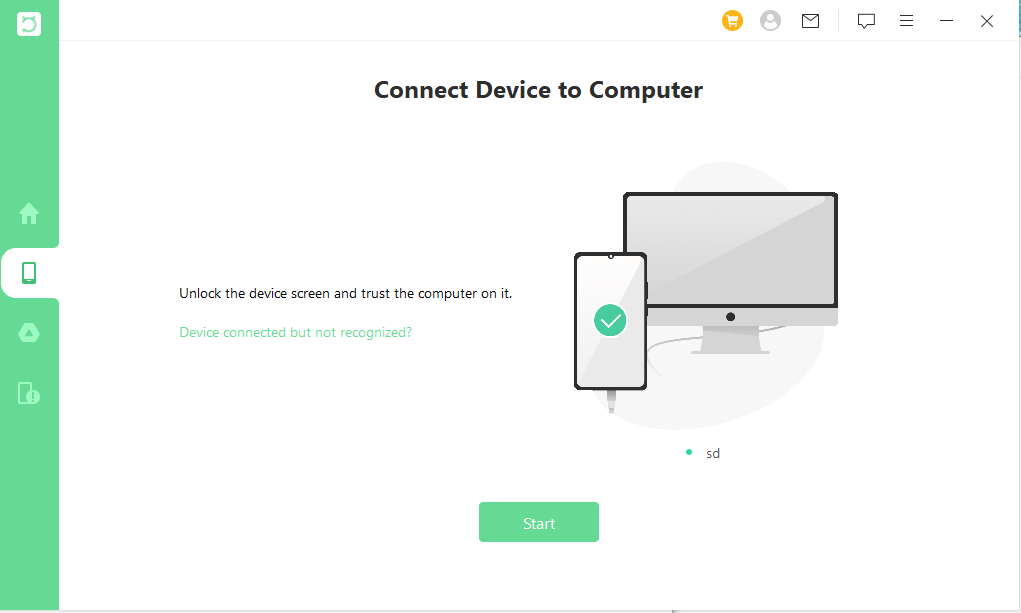
On your Android device, the app will automatically download the matching data package.
Note:
Please keep your Internet connection during this process.
Please follow the on screen instructions if your device didn’t get detected.
Step 3:Choose Between Quick Scan/Deep Scan
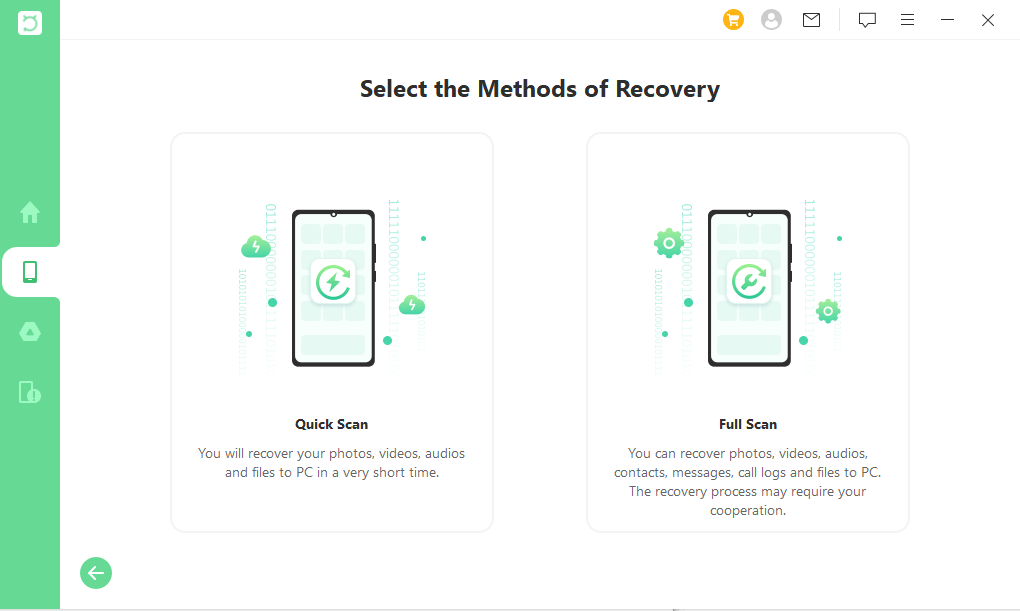
After clicking the Start button, you can choose a desired method to scan your Android phone depending on your situation. We recommend you to perform a deep scan if you didn’t find your desired files.
Step 4:Analyze Device Infomation
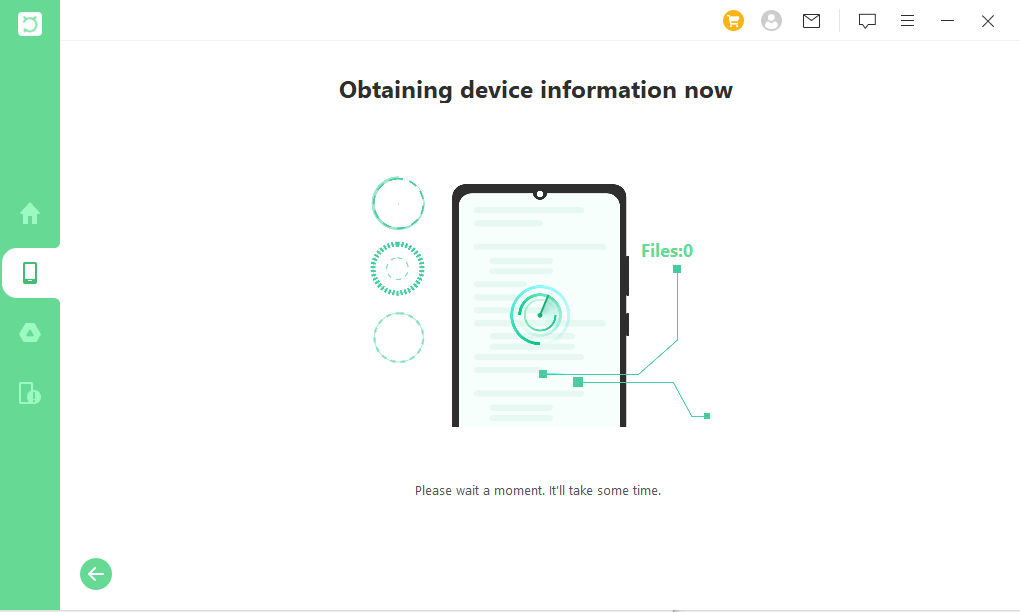
In the recovery interface, iSeeker (Android) will automatically start analyzing all the files and even file fragments on your android phone.
Step 5:Recover All/Selected Files
After scanning, all the lost files on your Android device will be listed in detail, so you can preview them and pick the ones you need.
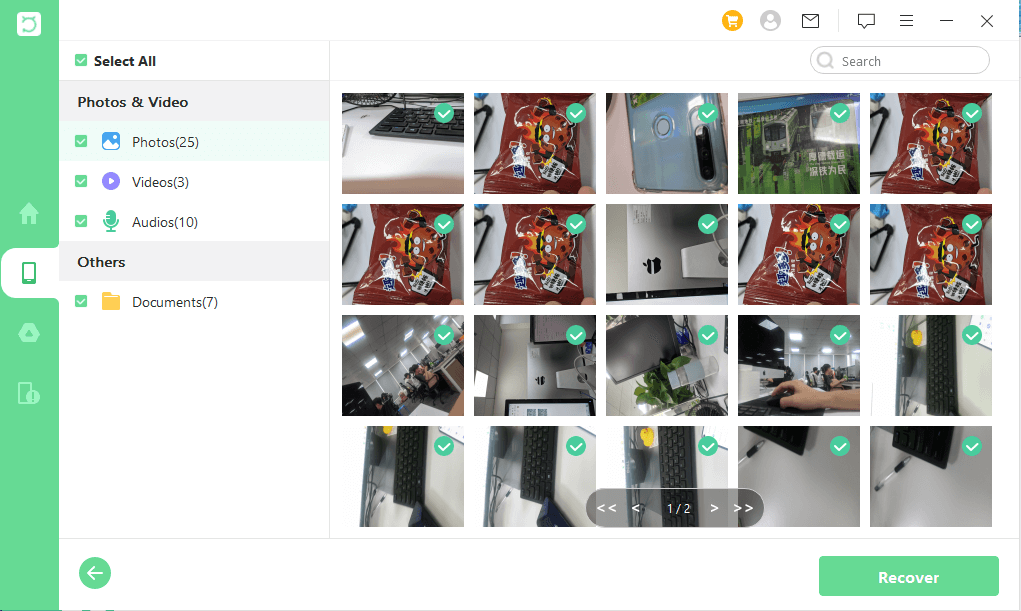
Then, click Recover to efficiently retrieve all the selected ones. In the pop-up, choose where you want to restore the files and what file format you prefer.
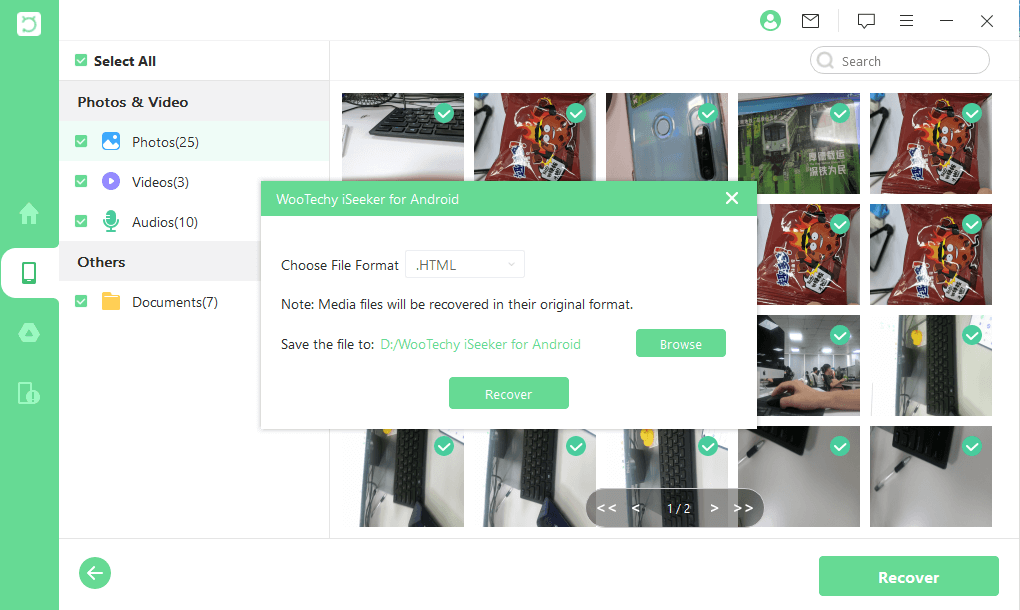
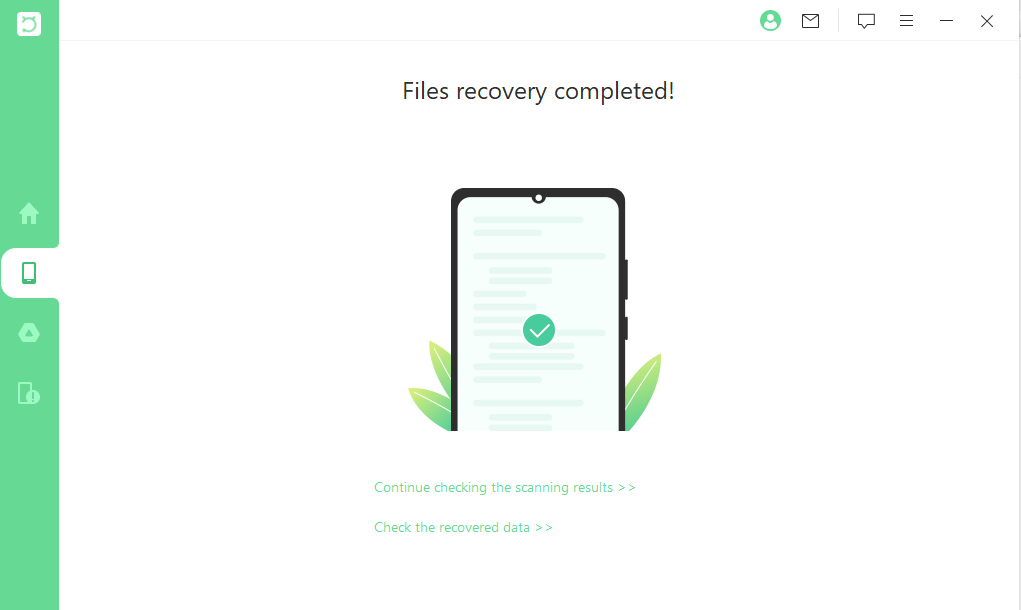
Again, click on Recover. Then, you are good to go!
Part 2: Recover Data from Google Drive
Step 1: Choose Recover Data from Google Drive Mode
Once you launch iSeeker for Android, you will be prompted to select a data recovery mode. On the main screen, let's select Recover Data from Google Drive.
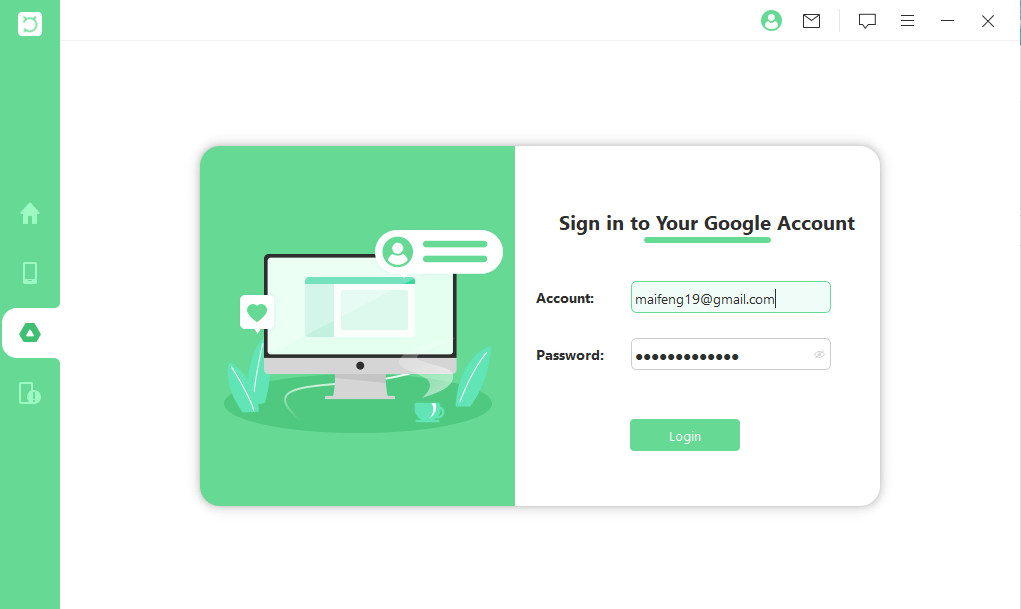
Step 2: Log in Google Account
Your Google account will be required to log in here. Verify the account sign-in details and click the Login button.We assure you that this process is completely safe and your account information will be protected.
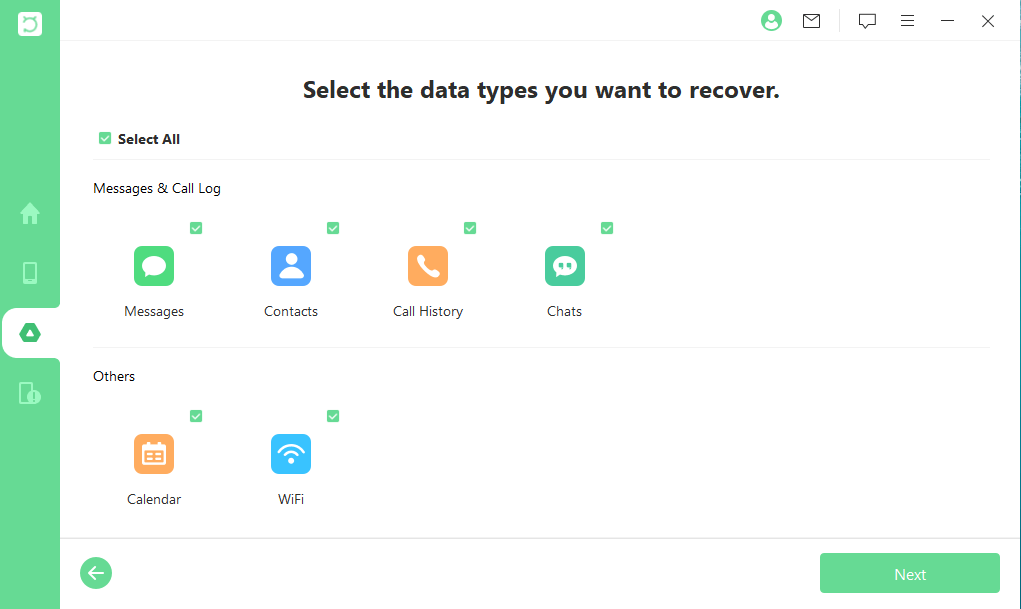
When you successfully log in to your Google account, the software will display all the available data types. Simply select one or select all. Once you have selected your data type click Next.
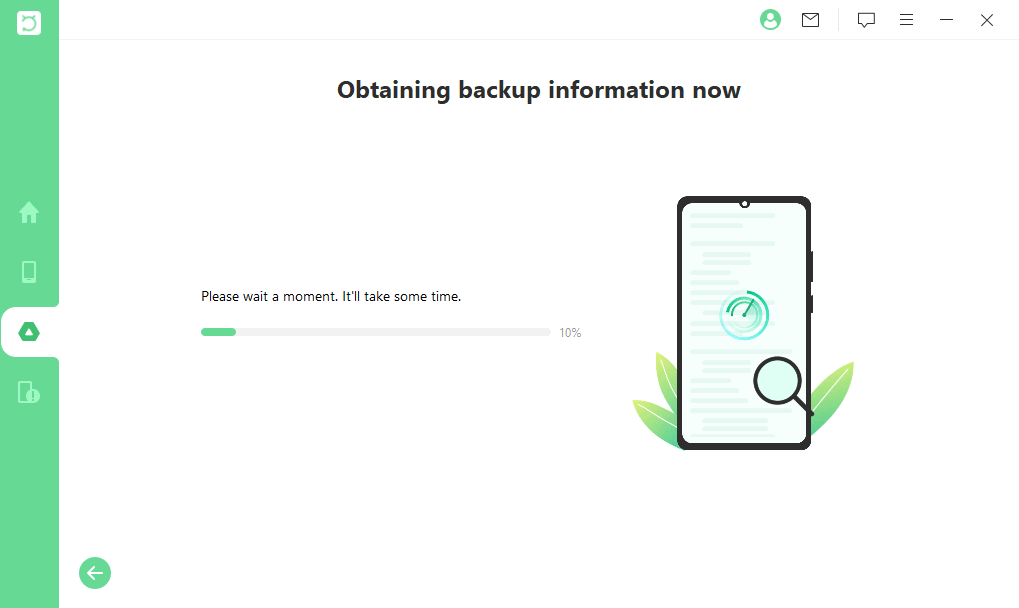
The data on your Google Account will then be scanned by iSeeker for Android. Please do not disconnect your device during the scanning process, as it will take a while.
Step 3: Preview and Recover Data from Google Backup
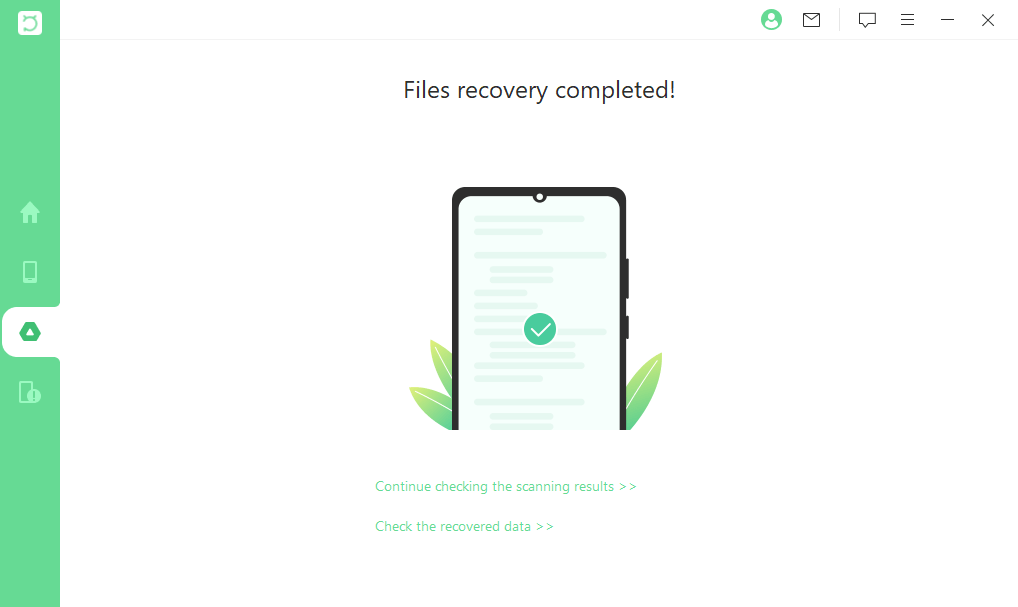
Once the scan has been completed, the recovered data will be displayed in a logical order. The left panel allows you to select data types, and the right panel allows you to view your data. You can also use the search bar to find specific data. Simply click the Recover button after you have selected the data you wish to recover.
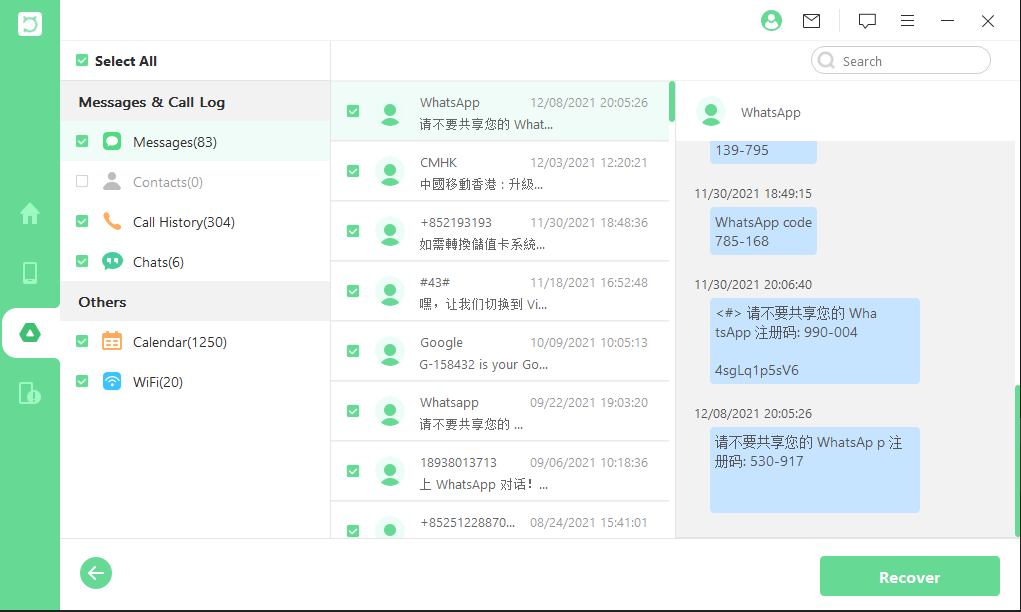
For privacy protection, we blur the detailed information on the images. You will see all the details when you preview the files on your PC.
Part 3: Recover Data from Broken Phone (Samsung Only)
Step 1: Select Recover Data from Broken Phone
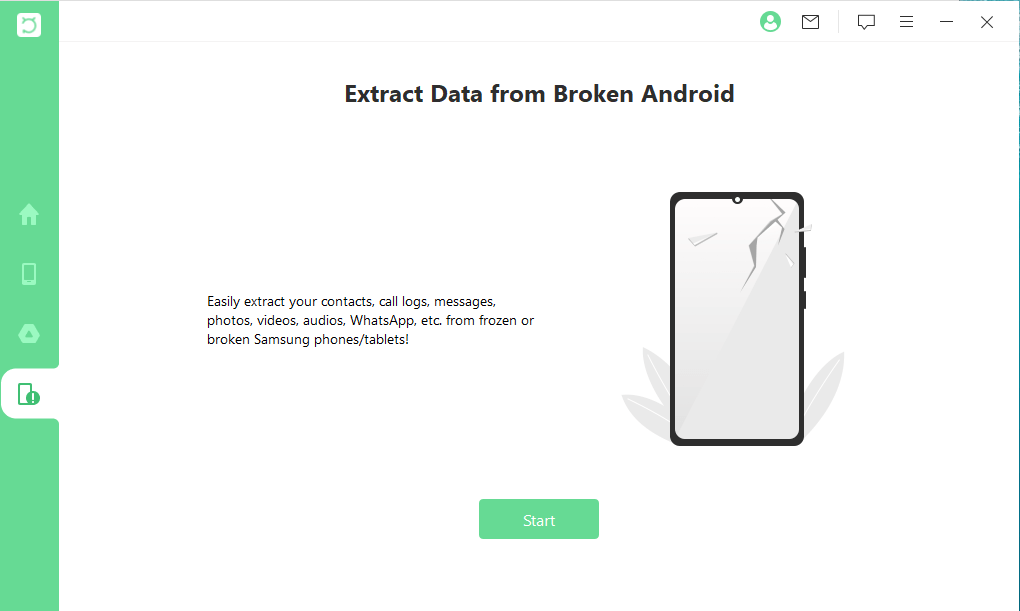
Download and launch iSeeker (Android) onto your PC and select Recover Data from Broken Phone. (Please make sure you are using a Samsung device. )
After clicking the Start button on the Android Data Recovery tab, the app will ask you to confirm your device. From the list provided, select the correct name and model of your Samsung.
Step 2: Select Recover Data from Broken Phone
After clicking the Start button on the Android Data Recovery tab, the app will ask you to confirm your device. It currently only supports Samsung devices. From the list provided, select the correct name and model of your Samsung.
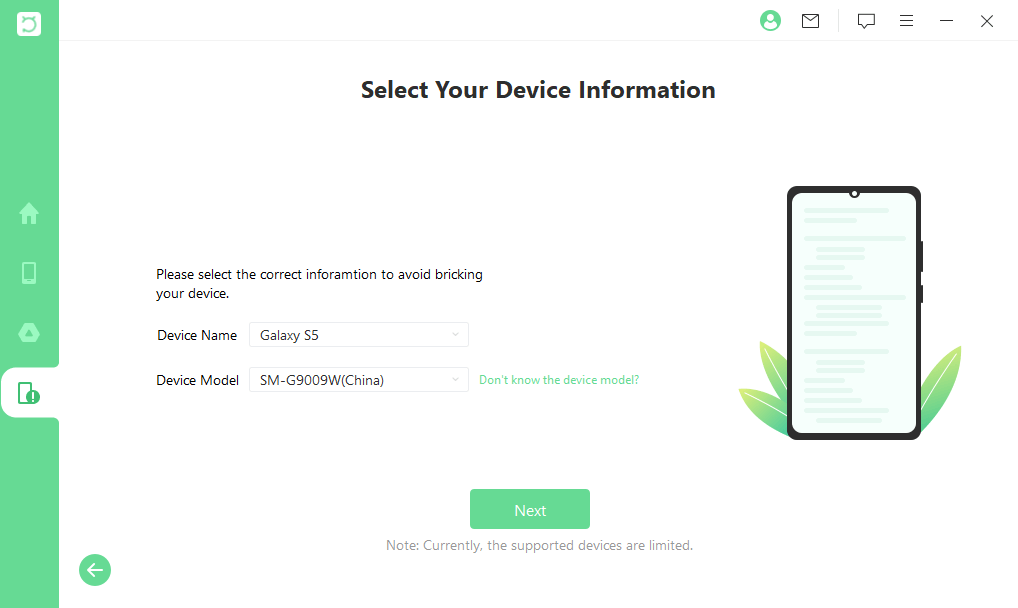
On your Android device, the app will automatically download the matching data package.
Note:
Please keep your Internet connection during this process.
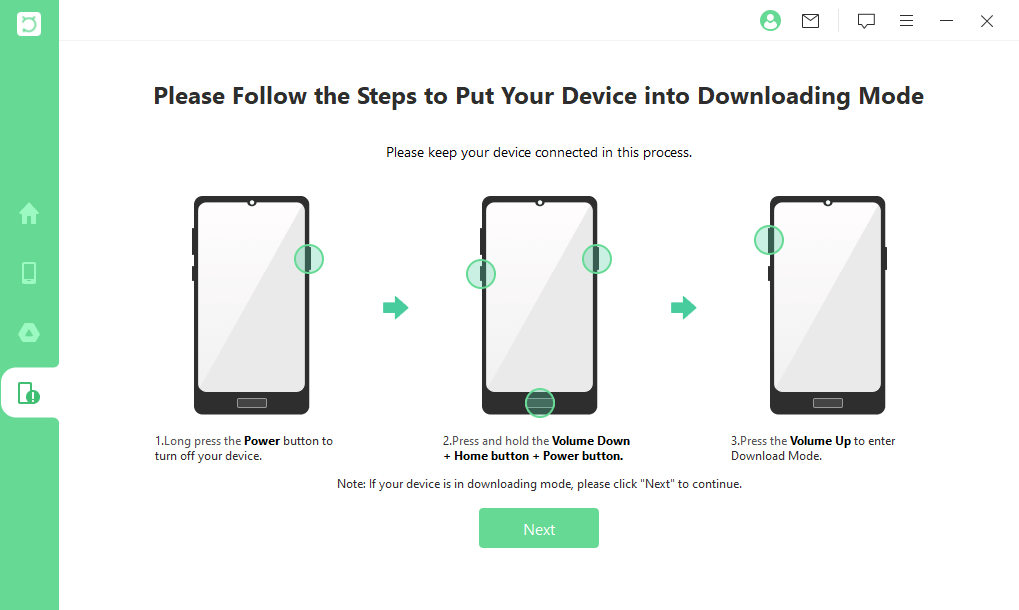
Step 3: Enter downloading mode on your Android device
Once the package has been downloaded, you must connect your Android device to a computer using a USB cable.
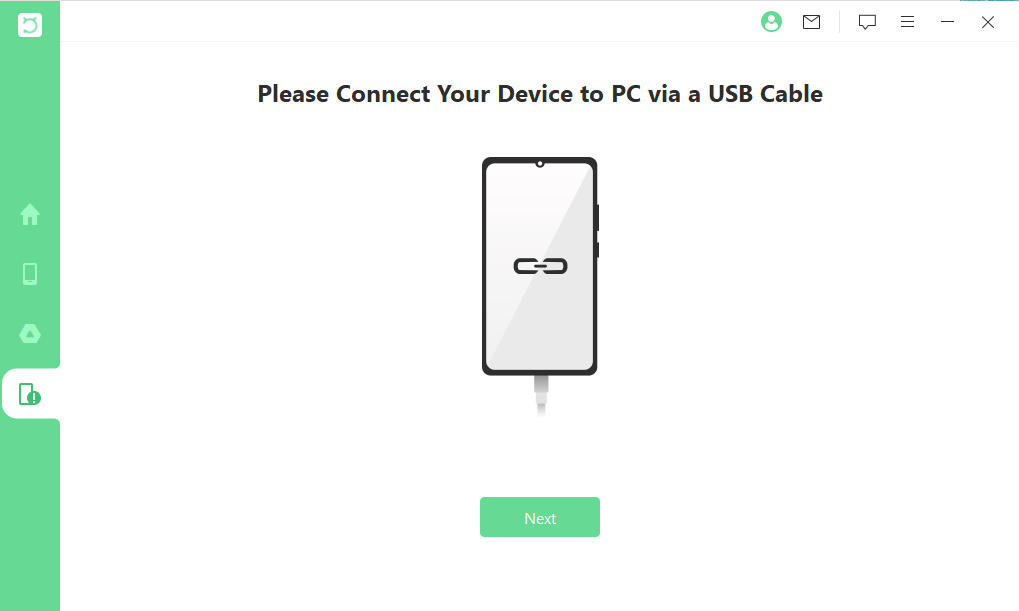
You will then be guided through putting your Android device into Downloading mode in 3 simple steps by iSeeker (Android).
Step 4: Scan The Selected File Types
In the recovery interface, you will be able to select the types of files you want to recover and then click "Next" to analyze those files you selected.

Once the analysis process is complete, the device will be scanned.
Step 5: Recover All/Selected Files
After scanning, all the lost files on your Android device will be listed in detail, so you can preview them and pick the ones you need.
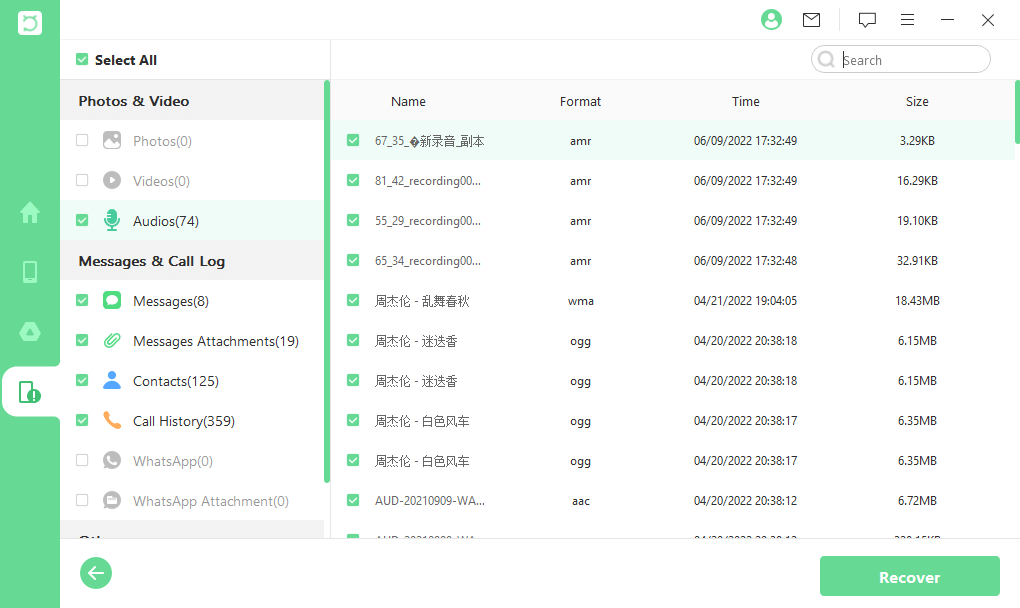
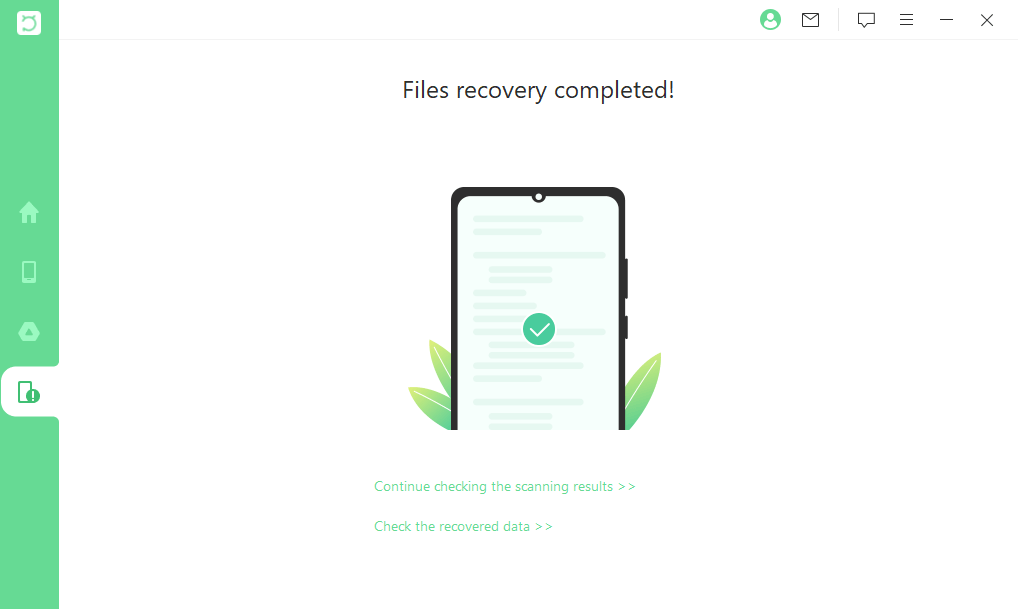
Then, click Recover to efficiently retrieve all the selected ones. You will have all the recovered files saved on your computer, which makes it easy to move them to another device.
Part 4: Recover WhatsApp Data
Note:Select Recover WhatsApp Data
iSeeker for WhatsApp Recovery is A build-in feature in iSeeker. Before getting into it, you should install it on your computer by selecting the Recover WhatsApp Data.

iSeeker for WhatsApp supports both iOS and Android devices,including the latest iOS16 and Android12. Simply click on the link below to check out the detailed guide.


